Why every face separately
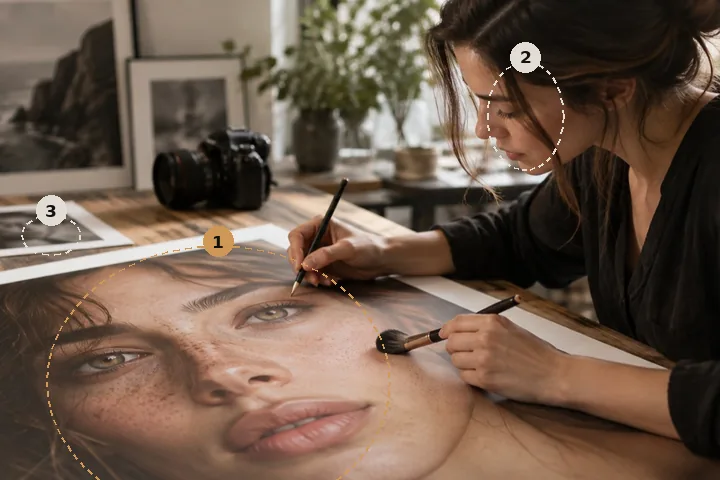
A group photo is several portraits lit by the same light and nothing else in common. Two faces a metre apart have different skin, different distances from the flash and different amounts of shadow, and a single smoothing value applied to the whole frame is right for one of them at best. So each face gets its own region, its own skin gate — which samples that face’s own median colour, never a table — and its own skin layer.
When one face is right, Apply these settings to every face copies its layer values to the others as one step you can undo. It copies values only. Strokes — a healed spot, a softened line — belong to the face they were painted on and are never repeated across people.
Numbers, not names
Faces are numbered 1 to n in reading order, top row first. A number is a position, nothing more: the finder reports a box and five points per face, no identity, and nothing is kept. Tap a number on the picture or in the panel, or press Tab inside the picture to move to the next face.
- Faces
- up to 12 found; more by hand
- Per face
- region · gate · eye and mouth cut-outs · skin layer
- Apply to every face
- layer values only, one undo step
- Numbering
- reading order; no identity
- Finder
- 224 KB, once, on request
What it will not do
- It may miss faces. Small faces at the back, profiles and faces in shade are the usual misses; add a region and drag it on.
- It will not make faces match each other. Each person keeps their own skin; nothing evens one face toward another.
- It does not reshape anyone. No control here moves a pixel to a different place on a face.
What people ask
How do I pick which face I am working on?
What does Apply these settings to every face copy?
The finder missed a face. What now?
Is anyone identified?
Is my photo uploaded?
Read next
- Face editorEvery layer for one face in one panel, with the values beside them. Nothing reshapes a face.
- Retouch wedding photosSet matching across the sitting, then the frames you choose go to the desk one at a time.
- Skin smoothingOpens with the skin layer at 25 per cent, which leaves three-quarters of the texture.
- How far is too farWhere the caps sit, why they are there, and what the distance readout is measuring.
- Why nothing here reshapes a faceThe one exclusion that is a decision rather than a boundary, and the reasoning behind it.